The short version
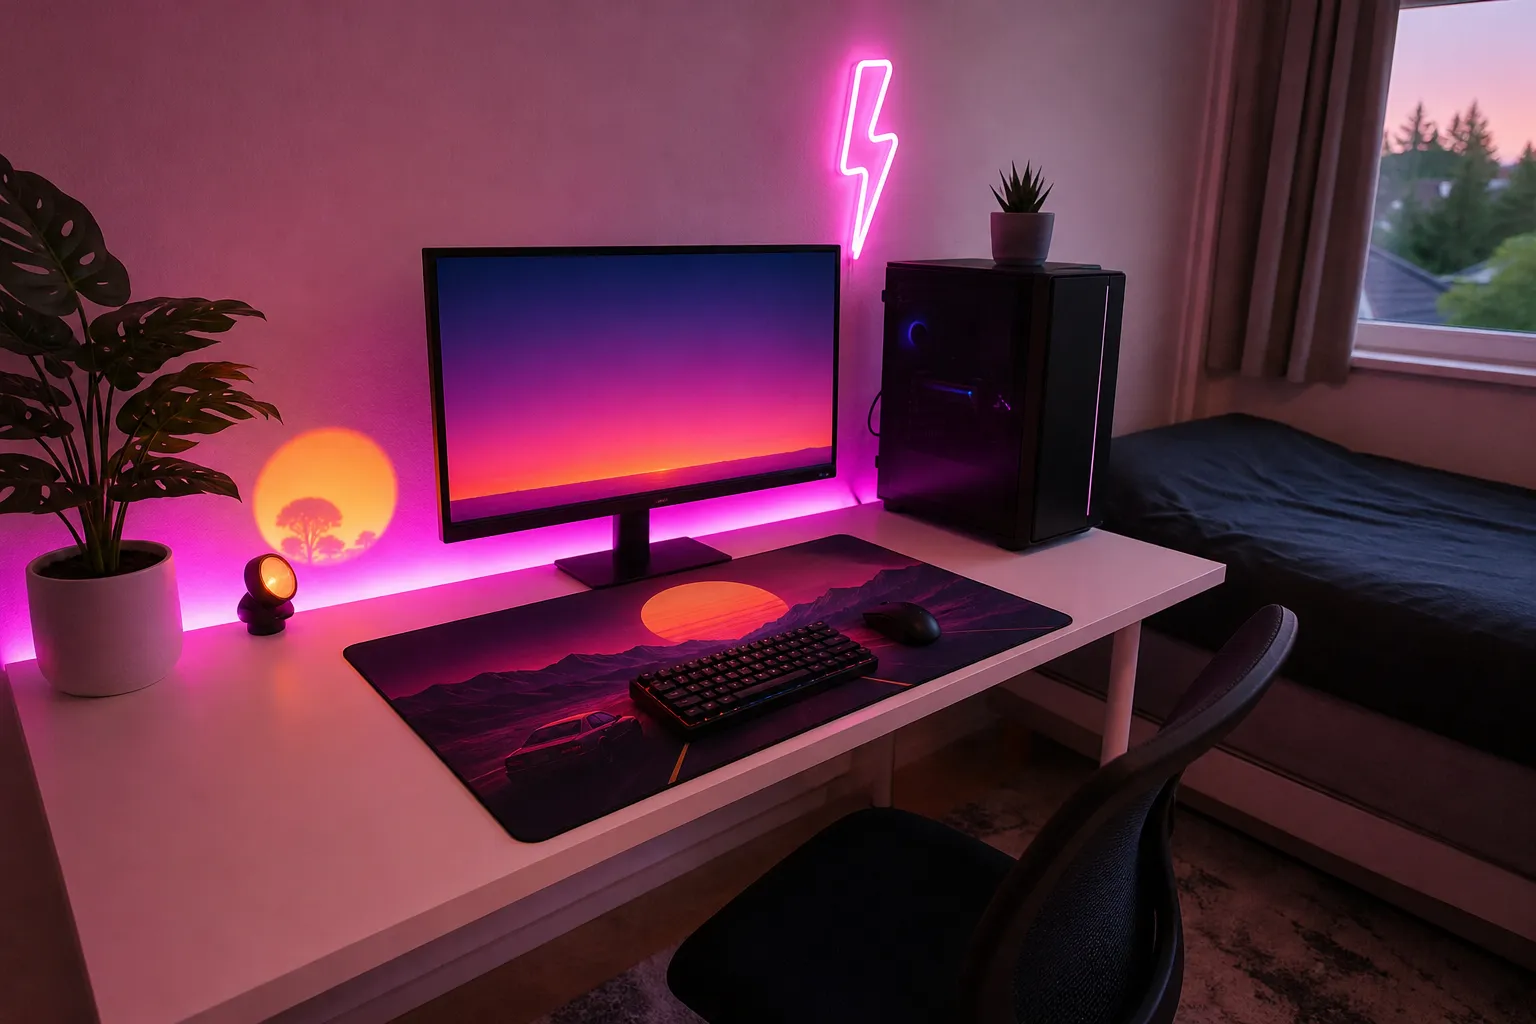
Under $100, the biggest visual upgrade is two zones of light: one behind your screen and one under or around your desk. A colored desk mat ties it together, and a few cable ties keep the whole thing from looking like a tangle of wires. Skip smart bulbs, wall panels and RGB peripherals for now. They eat the budget fast and add less than you’d think.
A sample budget split
These are price bands, not exact prices. Prices move around a lot, so treat this as a shape for your spending rather than a shopping list.
| What |
Price band |
Why it’s worth it |
| LED strip for behind the monitor or TV (bias light) |
Under $25 |
Biggest effect per dollar; also easier on the eyes in a dark room |
| LED strip for under the desk or along the wall |
Under $25 |
Adds a second color and makes the desk look like it floats |
| Light bar or small lamp for an accent |
Under $50 |
A pointable light you can aim at a wall or shelf |
| Neon or gradient desk mat |
Under $25 |
Puts color right in front of you, even with lights off |
| Cable ties, clips and an adhesive cable channel |
Under $25 |
Hides wires so the glow is the only thing you notice |
If you pick the lower end of each band you’ll come in comfortably under $100. If you want to stretch one item, stretch the accent light. A good light bar or lamp is the piece you’ll reposition most often.
Pick two colors, not seven
The most common budget mistake is running every strip on rainbow mode. It reads as “cheap party lights” rather than “neon.” Instead:
- Pink + teal: the classic synthwave look. Pink under the desk, teal behind the screen.
- Purple + cyan: a little cooler and calmer, good for long sessions.
- Magenta + warm orange: a sunset look that feels cozy in a bedroom.
Use one color as the main wash (about 70%) and the other as an accent (about 30%). If your strips support it, set the area where the two meet to purple or a soft blend so the change looks smooth.
Where each light goes
- Bias light behind the screen. Stick the strip around the back of the monitor or TV, a little in from the edges so the LEDs aren’t visible from your chair. Keep it dim. It should frame the screen, not compete with it.
- Under the desk lip. Run the second strip along the underside of the front or back edge, LEDs pointing down and slightly back. The light pools on the floor and wall without shining into your eyes.
- Accent light aimed at a wall. Put the light bar or lamp on a shelf or the floor and aim it up the wall behind you or beside your desk. A wash of color on a blank wall does more than any decoration.
Make cheap strips look better
- Bounce the light. Aim strips at a surface instead of at you. Reflected light looks softer and hides individual LEDs.
- Leave a gap. A few inches between the strip and the wall gives a longer, smoother gradient.
- Lower the brightness. Most budget strips look best at 30–60%. Full brightness flattens colors and shows hot spots.
- Turn off the overhead light. Neon looks neon when it’s the main light in the room. A dimmable lamp in a warm white is a good backup for reading.
Renter-friendly mounting
- Wipe surfaces with isopropyl alcohol first so the adhesive grips properly.
- On painted walls, put down a strip of painter’s tape and stick the LEDs to the tape. It comes off far more cleanly when you move out.
- Corners are where strips peel. Add a small adhesive clip at each bend rather than trusting the strip’s own tape.
- For the desk, the underside is usually bare wood or laminate, so adhesive holds well there and nobody sees it.
Cable management on a budget
You don’t need a cable tray to make a setup look tidy:
- Gather cables at the back leg of the desk with reusable hook-and-loop ties.
- Use a stick-on cable channel for the run from the desk to the outlet.
- Stick strip controllers somewhere reachable, like the side of the desk, so you aren’t crawling under it to change colors.
- If you have a power bar, mount it to the underside of the desk with adhesive hooks or screws so it isn’t on the floor.
Power and safety
- Count outlets before you buy. Two strips, a lamp and your console or PC can fill a small power bar. A surge-protected bar is worth having anyway.
- Many strips run off USB. Plugging them into your TV or monitor’s USB port is tidy, and they’ll often switch off with the screen.
- Don’t run longer strips than the included power supply is rated for, and only cut at the marked cut lines.
- Keep strips out from under rugs, blankets and pillows, and don’t stack them on top of each other.
- Look for listings that show clear electrical certification, such as UL, ETL or CSA.
What to add later
When you have more to spend, the natural next steps are a light bar under your monitor for desk lighting, wall panels or a neon-style sign as a focal point, and lights that can sync to your screen or music. Our under-$250 and under-$500 guides cover those upgrades, and the pink and teal guide goes deeper on color placement.